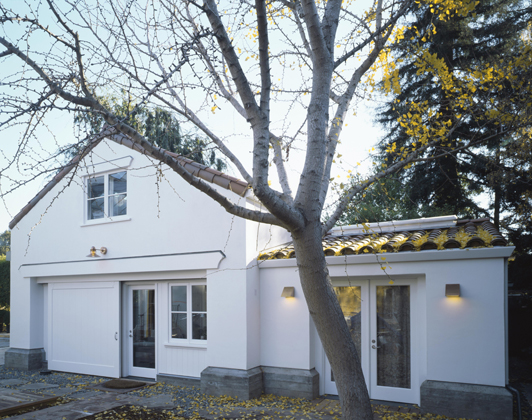
REALIZING AN ARTIST’S VISION
 It started as a chicken coop that slowly developed over the years into an 1100 square foot pool house/studio – a cold, leaking, rotting, pool house/studio. Beyond wanting the building fixed, this client aspired for much more – a warm and inviting retreat for guests and an inspiring art studio in which to create; a space to both live and work in peacefully and comfortably. This artist’s unique vision was accompanied with a desire for only the highest quality craftsmanship. This task required technical complexity and intense planning. For such a small space, every square inch was artfully designed. And, it continued to be designed, and re-designed, until the project was perfected. Turning the vision of an artist into grounded reality proved to be as highly challenging as it was deeply rewarding.
CHALLENGES IN BUILDING
1. Strict city building codes allowed for zero additional height or width and no more than 50% demolition was prohibited.
2. Water-proofing issues at the ground level increased due to the artist’s aesthetic.
3. Structural damage and foundational issues required that the entire structure be elevated and a new foundation installed along with a full structural upgrade.
4. Slab floors were cold and not conducive to creativity.
5. Lack of natural light was a problem.
6. The Artist’s vision was not perfected entirely prior to beginning construction.
 Interior before
 The kitchen before work started
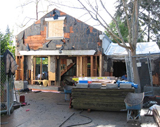
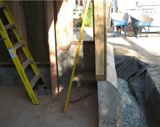
 Lifting the structure to fix the foundation
 View of the entire structure after raising
-
- Preparing for the foundation work
-
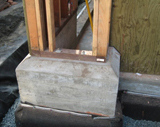
- Detail of exposed board impressions in the concrete
-
- Exposed board formed concrete stem wall
 Forms for the new foundation
 Waterproofing barriers
 Detail of wood rot
 Repairing and salvaging of usable wood
 Demolished studio
 New studio under construction
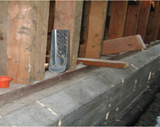
-
- Rough framing in progress
-
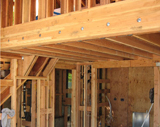
- Engineered wood and detailed frame work
-
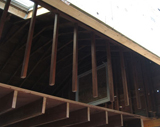
- “Floating floor” framing
 Demolished studio
 Finished concrete floor
 Original sky lights (not approved)
 Flush sky lights
 Vertical wood paneling
 Perfect match on wood paneling grooves
 Kitchen After
 Interior After