![]()
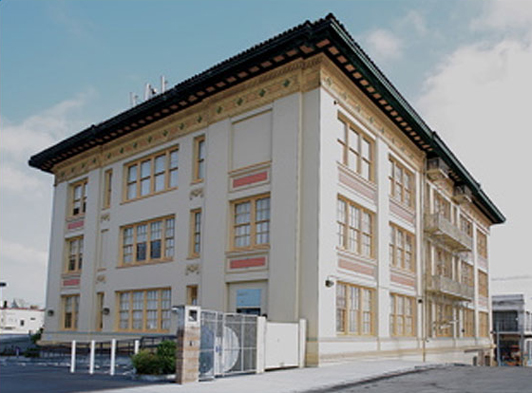
A RESTORATION TALE OF EPIC PROPORTIONS
-

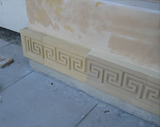
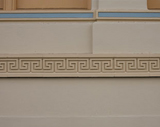
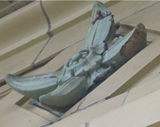
- Loss and damage to the terracotta rain table
-
- Hand shaping and sanding of repaired area creates the original detail
-
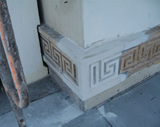
- Loss and damage to the terracotta rain table
-
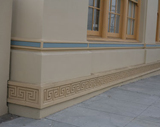
- Completed restoration
-
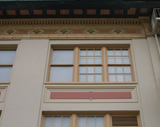
- Full restoration of the deta
-
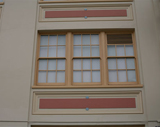
- Closer view of the restored windows
-
- Completed restoration of the windows
-
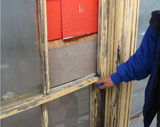
- Dry rot is apparent on the window frame
-
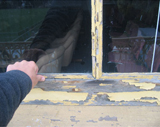
- Loose wooden glass supports
-
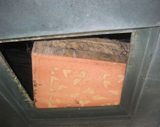
- Dislodged terracotta panel
-
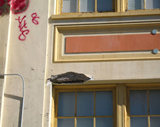
- Overview of pigeon damage
-
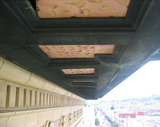
- Underside of the cornice
-
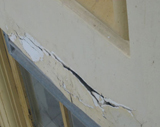
- Cracks above the window
-
- Spalling and some Graffiti
-
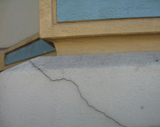
- Large crack in wall
-
- Neglected Spanish tile
-
- Broken terra cotta flower
-
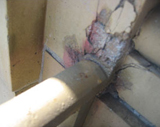
- Rusted balcony tie-ins
-
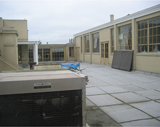
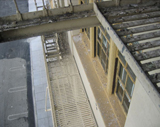
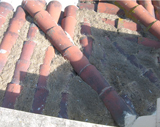
- Roof structures before
![]()
2009 Nari Remmie Award
Restoration Residential